This is adapted from a recipe my mother-in-law gave me. The original is delicious, but I think it’s even better with the minor changes I made.
No Sugar Added Apple Cake:
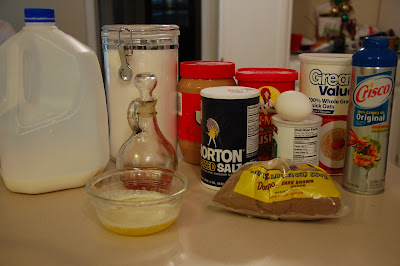
1 Cup of natural, no sugar added applesauce
1-1/2 Cups of Splenda (or other 1:1 sugar substitute)
2 eggs
3 Cups of flour
1 teaspoon of salt
1 heaping teaspoon of baking soda
1 Tablespoon of vanilla
3 Cups of apples, peeled and diced small
1 jar of cherries (I’m going to try it with fresh cherries next time!)
Optional additions:
1 Cup of pecans (I rarely add this, although I love pecans; many people I bake for don’t)
2 handfuls of raisins (I usually add this)
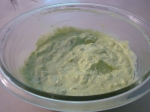
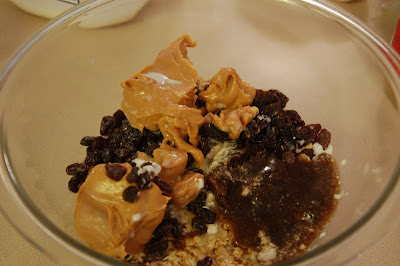
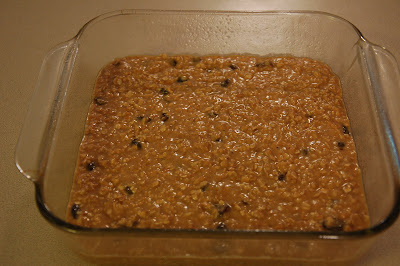
Combine first three ingredients until well mixed. Add in dry ingredients slowly. Add vanilla. Add apples, cherries, and optional ingredients. Pour into greased loaf pans and bake at 350 degrees for 50 minutes.
*I use my stand mixer with the paddle attachment.
*My oven is a convection oven, and cooks these in about 30-35 minutes.
*I can usually get two 8″ x 3-7/8″ loaf pans out of one batch. It rises well: to the top of the loaf pan but not over.
1 Cup of natural, no sugar added applesauce
1-1/2 Cups of sugar
2 eggs
3 Cups of flour
1 teaspoon of salt
1 teaspoon of baking soda
1 Tablespoon of vanilla
3 Cups of apples, peeled and diced small
1 jar of cherries (I’m going to try it with fresh cherries next time!)
Optional additions:
1 Cup of pecans (I rarely add this, although I love pecans; many people I bake for don’t)
2 handfuls of raisins (I usually add this)
Combine first three ingredients until well mixed. Add in dry ingredients slowly. Add vanilla. Add apples, cherries, and optional ingredients. Pour into greased loaf pans and bake at 350 degrees for 50 minutes.
*I use my stand mixer with the paddle attachment.
*My oven is a convection oven, and cooks these in about 30-35 minutes.
*I can usually get three 8″ x 3-7/8″ loaf pans out of one batch. It rises well: to the top of the loaf pan but not over.